There are many ways to work with resin, and one of the most popular methods is to use a heat gun. It can be a great way to get the perfect results, but it’s essential to know how to use a heat gun on resin properly. In this post, we’ll walk you through the process so you can achieve the best results.
Rules of using a heat gun on resin
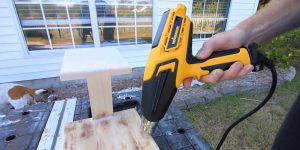
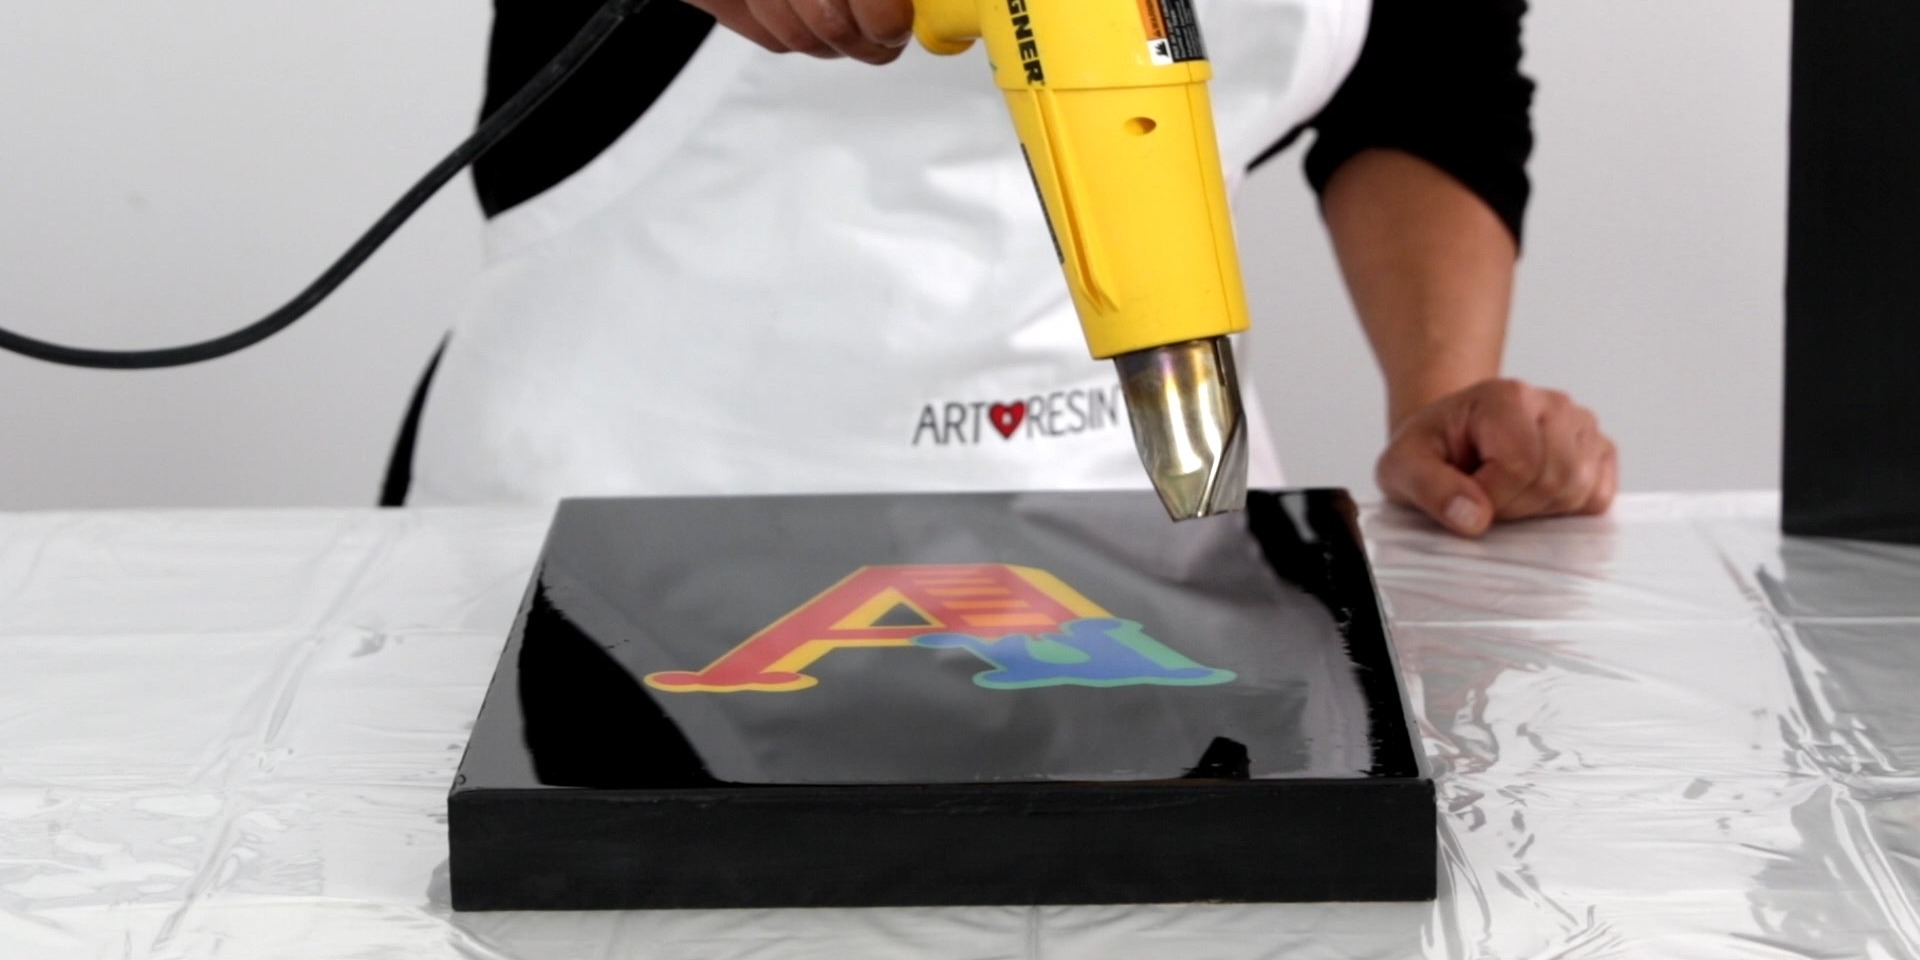
Aim the heat gun
When you’re using a heat gun on resin, it’s important to aim the gun properly. For example, it would be best to aim the heat gun at the center of the resin piece and then move it around in a circular motion. It will help to distribute the heat and prevent any uneven results evenly.
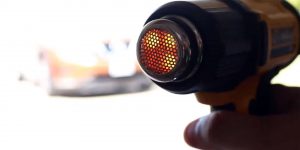
Set the heat gun to a low setting
A heat gun can get very hot, so it’s essential to set it to a low setting when using it on resin. You should always start with the lowest possible setting and adjust from there as needed. Too much heat can cause your resin piece to warp or even become damaged.
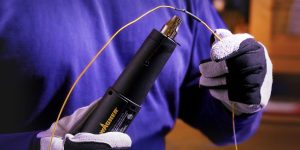
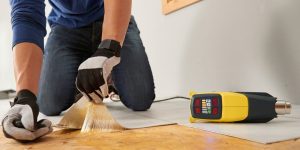
Use protective gear
When you’re using a heat gun on resin, it’s also essential to use some protective gear. It can include items like safety goggles and gloves so that your hands won’t get burned in the process.
Benefits of using a heat gun on resin
There are many benefits to using a heat gun on resin. First, it is an easy and effective way to manipulate the shape or appearance of the piece. You can use a heat gun to cure the resin. Curing is when you set the resin piece in the sun or another bright light source to harden it.
You can also use it to dry your resin piece if it’s not curing correctly. Drying is when you set the piece in an oven on a low setting to remove excess moisture. A heat gun can also help you achieve smooth, glossy results with no bubbles or air pockets. With just a little bit of practice, it’s easy to get great results with a heat gun and resin.
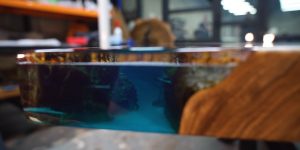
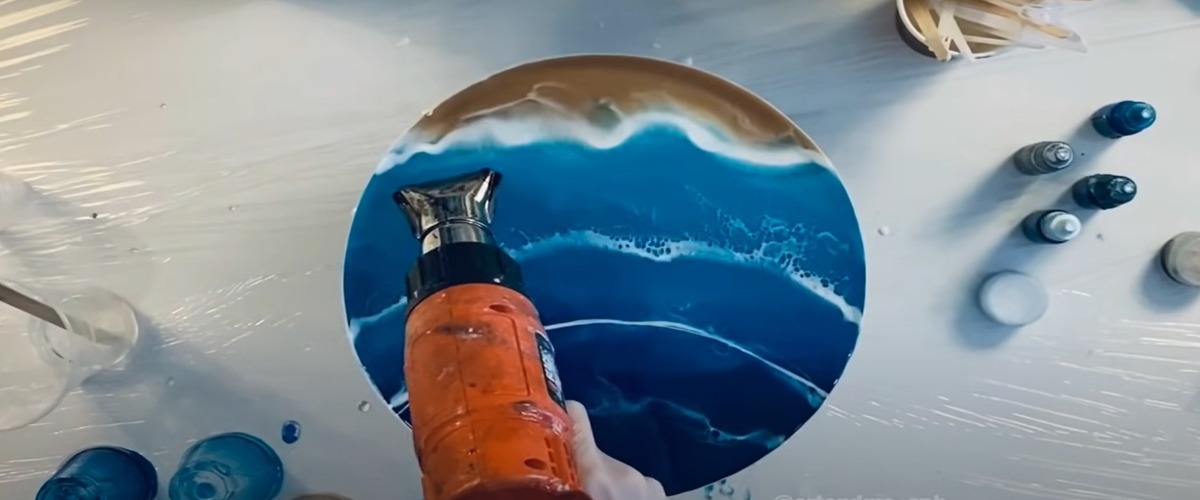
How to get air bubbles out of resin using a heat gun
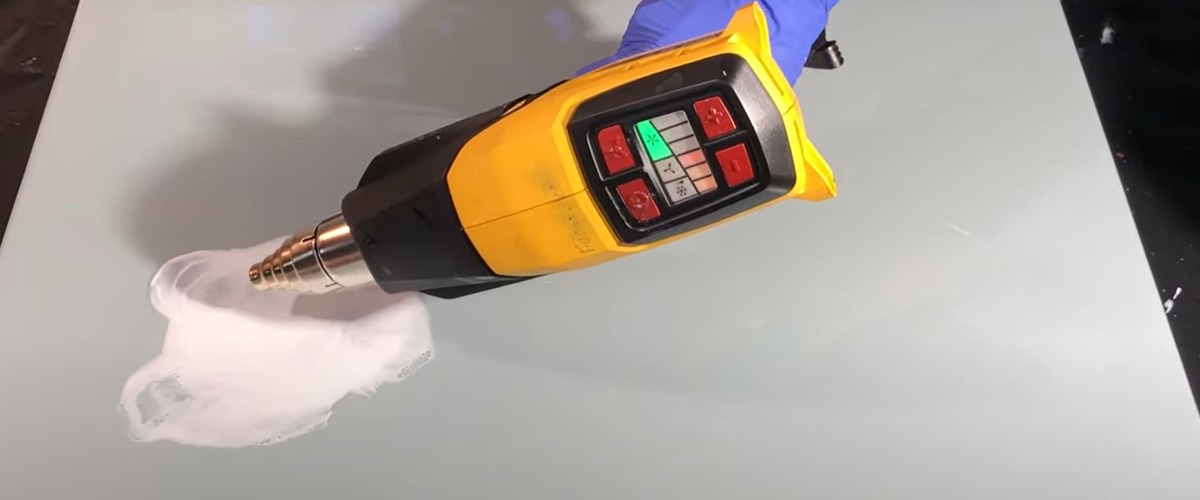
One of the most common problems people run into when working with resin is air bubbles. These can be difficult to avoid, but one way to get rid of them is to use a heat gun. It will help raise the temperature of the resin and cause it to expand and fill in any gaps or bubbles on your project. To do this successfully, follow these steps:
- Set your heat gun to a low setting and aim it at the resin piece.
- Move the heat gun around in a circular motion until you see the bubbles start to disappear.
- Once the bubbles are gone, turn off the heat gun and allow the resin to cool and harden.
- If you see any new bubbles form, repeat steps 2-3 until they are all gone.
- Once your piece is bubble-free, you can move on to the next step in your project.
Using a heat gun is an easy and effective way to get rid of air bubbles in the resin. With a bit of patience, you should be able to get rid of all the bubbles and have a beautiful finished product.
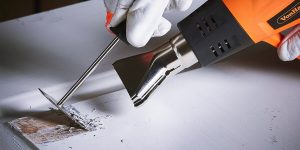
Can a heat gun remove resin?
A heat gun can remove resin from surfaces, but it’s essential to be careful when using one. If the heat gun is too hot, it can damage the surface or even cause the resin to catch fire. Therefore, it’s always best to start with a lower setting and work your way up as needed. It would be best to keep the heat gun moving in a circular motion to prevent any hot spots and avoid damaging the surface.