If you’re wondering how to touch up paint on walls, you’ve come to the right place. Over time, walls can be subject to wear and tear, leaving behind scuffs, scratches, or small imperfections that may diminish the overall beauty of the space. Freshly painted walls can transform the ambiance of a room, revitalizing its appearance and creating a sense of newness. The good news is that you don’t need to repaint the entire wall to restore its former glory; instead, you can utilize the technique of touch-up painting.
In this article, I will guide you through the process of touching up wall paint, providing you with the knowledge and tips necessary to achieve a flawless finish. From identifying the correct paint color and type to prepping the surface and executing the touch-up, I will cover all the essential steps to ensure your walls regain their original splendor.
What you will need
When it comes to touching up paint on walls, having the right tools and materials at hand is essential for achieving a seamless and professional finish. Here is a list of items you will need for a successful wall paint touch-up:
| Tools and Materials | Description |
|---|---|
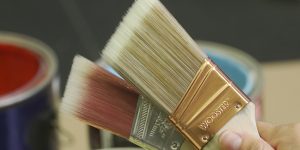
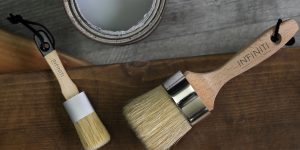
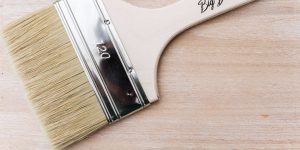
| Paintbrushes | Various sizes of paintbrushes will be needed for precise application, such as a small brush for tiny touch-ups and a larger one for larger areas. |
| Paint Roller | If the touch-up area is significant, a paint roller can be used for a smooth and even application of coating. |
| Paint Tray | A paint tray will be useful for pouring and loading the coating onto the roller or brush. Choose a tray that is large enough to accommodate the tools you are using. |
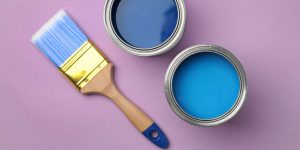
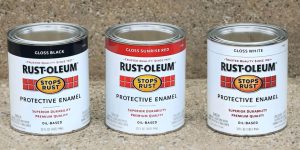
| Paint | Select the same coating type and color originally used on the walls. It’s important to match the color accurately to achieve a seamless touch-up. |
| Sandpaper | Light sanding may be required to smoothen the surface before coating if the touch-up area has a rough or uneven texture. Choose sandpaper with a suitable grit, typically between 120 to 220. |
Preparing the area for touch-up
Before you begin the touch-up painting process, it’s important to prepare the area properly to ensure a smooth and successful application. So let’s explore each step in detail:

Assessing the damage or imperfections
Take a close look at the area that requires touch-up paint. Identify any scratches, scuffs, dents, or other imperfections that need to be addressed. Next, determine the size and extent of the damage to assess the appropriate touch-up technique and materials needed.
Cleaning the area to be touched up
Use a mild detergent and water solution to remove any dirt, dust, or grease that may have accumulated on the wall surface. Gently scrub the area with a sponge or cloth, then rinse it clean and allow it to dry completely before proceeding.
Sanding and smoothing the surface
If the touch-up area has a rough or uneven texture, sanding can help create a smoother surface for paint application. Use sandpaper with a suitable grit and lightly sand the damaged area.
Protecting surrounding areas and furniture
To prevent accidental paint splatters or spills, it’s essential to protect the surrounding areas and furniture. Cover the floors with a drop cloth or plastic sheet, and use painter’s tape to mask off any edges, baseboards, or trim that you want to keep free of paint.
Step-by-step guide to touching up wall paint

To successfully touch up wall paint and achieve a seamless finish, follow this step-by-step guide:
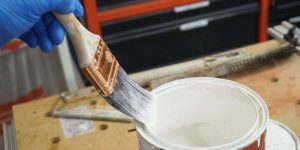
Stirring and preparing the paint
- Use a paint stir stick to thoroughly stir the paint, ensuring the even distribution of color pigments.
- If the coating has settled or separated, proper stirring is crucial for color consistency.
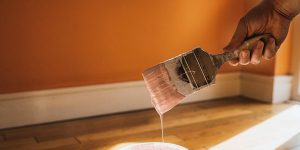
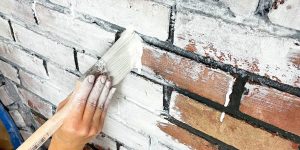
Applying the paint with a brush or roller:
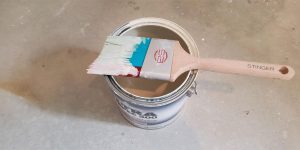
- For small areas, use a clean and appropriately sized paintbrush.
- Dip the brush into the paint, tap off any excess, and apply the coating to the damaged area with smooth and even strokes.
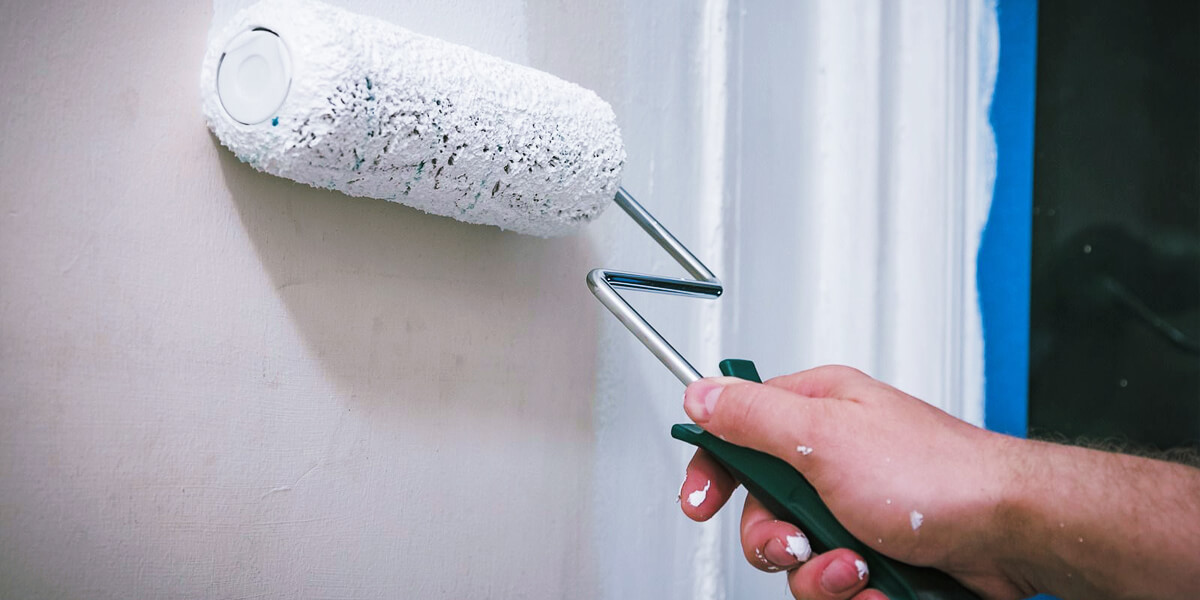
- For larger areas, use a small paint roller.
- Pour a small amount of paint into a paint tray, load the roller evenly, and apply the coating using light pressure in vertical or horizontal strokes.
Feathering the paint edges
- To create a seamless transition, lightly blend the edges of the freshly painted area into the existing paint.
- Use a dry brush or roller to feather the edges, preventing visible lines or demarcations.
Allowing the paint to dry and applying additional coats if necessary:
- Follow the coating manufacturer’s instructions for drying time.
- Allow the touch-up paint to dry completely before applying additional coats.
- If necessary, apply more coats to achieve the desired color and coverage, allowing drying time between each coat.
Inspecting the touch-up and making any final adjustments:
- Once the coating is dry, inspect the touch-up area under natural and artificial light.
- Ensure that the touch-up blends seamlessly with the rest of the wall.
- Make any necessary final adjustments by adding more paint or feathering the edges further for a flawless finish.
FAQ
How do you blend touch-up paint on walls?
To blend touch-up coating on walls, feather the edges of the freshly painted area into the existing paint using a dry brush or roller.
Can you touch up the paint on a wall without painting the whole wall?
Yes, touch-up painting allows you to address small blemishes or imperfections on the wall without repainting the entire wall.
How do I find the exact paint color match for my wall?
Bring a sample of the existing paint to a paint store or professional coating supplier. They can use color-matching technology to recreate the color or provide a close match.