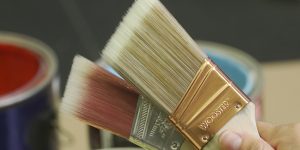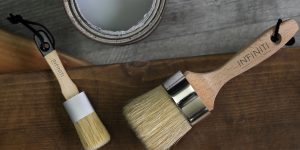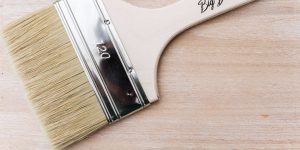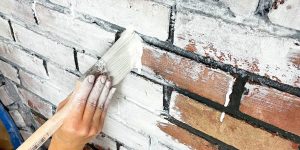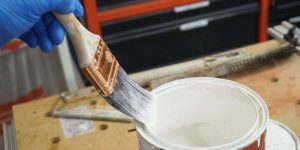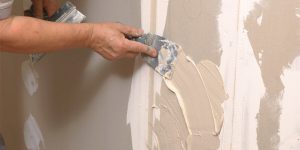
Cleaning paint brushes is an important task that every artist, DIY enthusiast, or homeowner should be familiar with. Whether you have just finished a creative masterpiece or completed a home improvement project, knowing how to properly clean a dry paint brush is important for maintaining its longevity and ensuring optimal performance. Regular cleaning not only extends the lifespan of your brushes but also allows for better paint application and prevents cross-contamination of colors.
In this article, I will guide you through the step-by-step process of cleaning a dry paint brush, equipping you with the knowledge and techniques needed to keep your brushes in pristine condition for future projects.
What happens when the paint dries on brushes
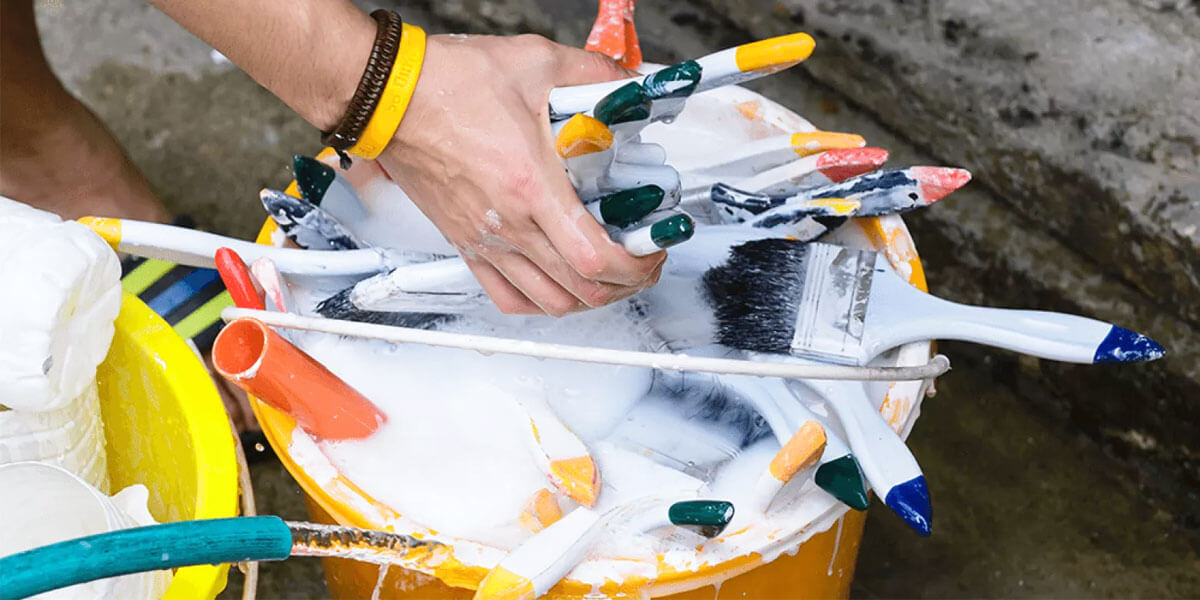
Based on my experience, I can claim that when paint dries on brushes, it can lead to several undesirable consequences. Firstly, the hardened paint can stiffen the bristles, making them less flexible and less effective for future use. Additionally, dried paint residue on the brush can mix with fresh paint during the next painting session, resulting in undesirable color variations and a compromised finish. Moreover, if left uncleaned for an extended period, the dried paint can cause irreversible damage to the bristles, rendering the brush unusable. Here are the most popular and effective methods of cleaning paint brushes that I’ve been using for years and now want to share with you:
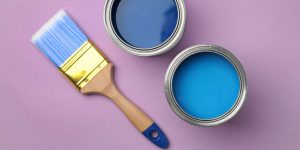
Method 1: Soap and water technique

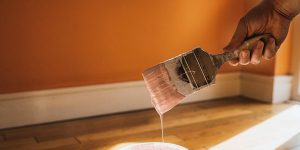
- Rinse the brush
- Hold the dry paint brush under warm running water to remove loose paint particles.
- Gently shake the brush to dislodge any remaining loose paint.
- Apply soap
- Squirt a small amount of mild dish soap or hand soap onto your palm or a brush cleaning tool.
- Swirl the brush bristles in the soap, making sure to work the soap into the bristles thoroughly.
- Rinse the brush
- Hold the brush under running water again.
- Gently massage the bristles with your fingers or a brush cleaning tool, ensuring that all soap residue and paint are washed away.
- Continue rinsing until the water runs clear and there is no trace of paint left.
- Reshape and dry the brush
- Gently squeeze excess water from the bristles using your fingers or a clean cloth.
- Use your fingers to reshape the bristles to their original form.
- Place the brush on a clean towel or hang it upside down to air dry completely before storing it for future use.
Method 2: Vinegar solution technique
- Prepare the vinegar solution
- Mix equal parts white vinegar and warm water in a container deep enough to submerge the bristles of the brush.
- Soak the brush
- Submerge the bristles of the dry paint brush into the vinegar solution.
- Ensure that the paint-covered area of the brush is fully immersed.
- Let it soak
- Allow the brush to soak in the vinegar solution for approximately 20 to 30 minutes.
- This soaking time helps to loosen and dissolve the dried paint.
- Scrub and rinse
- After soaking, gently scrub the bristles using a brush cleaning tool or your fingers to loosen any remaining paint.
- Rinse the brush under running water until the water runs clear and all traces of paint and vinegar are removed.
- Reshape and dry the brush
- Use your fingers to reshape the bristles to their original form.
- Place the brush on a clean towel or hang it upside down to air dry completely before storing.
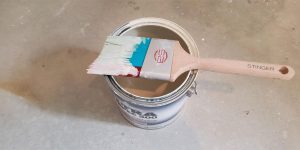
How to clean a dry paint brush
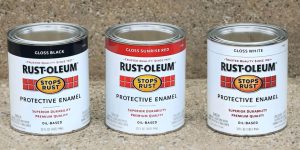
Method 3: Using a paint solvent
- Choose the appropriate solvent
- Select a paint solvent that is suitable for the type of paint used, such as mineral spirits for oil-based paint or paint thinner for latex-based paint.
- Ensure you have proper ventilation in the workspace and follow any safety precautions recommended by the solvent’s instructions.
- Pour the solvent
- Pour a small amount of the paint solvent into a container deep enough to submerge the bristles of the brush.
- Dip and swirl
- Dip the bristles of the dry paint brush into the solvent, making sure the paint-covered area is fully submerged.
- Swirl the brush in the solvent and gently press the bristles against the sides of the container to loosen the dried paint.
- Repeat and rinse
- Repeat the dipping and swirling process until the paint is dissolved and the brush appears clean.
- Rinse the brush under running water to remove any remaining solvent and paint residue.
- Reshape and dry the brush
Post-cleaning brush care

After cleaning your paint brushes, it’s important to take proper care of them to ensure their longevity and optimal performance. This includes effective drying and implementing appropriate storage techniques. Let’s explore these essential post-cleaning brush care steps.
Proper storage techniques
Proper storage of your clean and dry paint brushes helps maintain their shape and protects them from damage. I’d recommend using the following techniques:
- Protect the bristles
- Cover the bristles with a protective cover or wrapping.
- Use a brush guard or wrap the bristles in a clean cloth or paper towel to prevent bending or fraying.
- Store brushes upright or flat
- For long-term storage, store brushes upright in a container or jar, ensuring the bristles are not touching the bottom.
- Alternatively, lay brushes flat in a clean and dry area.
- Avoid overcrowding
- Allow sufficient space between brushes to prevent them from touching or deforming each other.
- Maintain a controlled environment
- Store brushes in a cool, dry place away from extreme temperatures, humidity, and direct sunlight.
- Avoid storing brushes near sources of chemicals or strong odors that could potentially damage the bristles.
By following these post-cleaning brush care practices, you can preserve the quality and performance of your paint brushes, ensuring they are ready for future projects and maintaining their longevity.