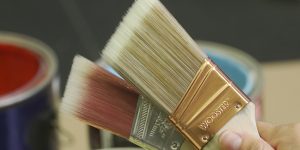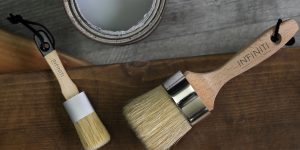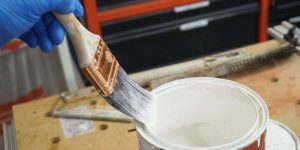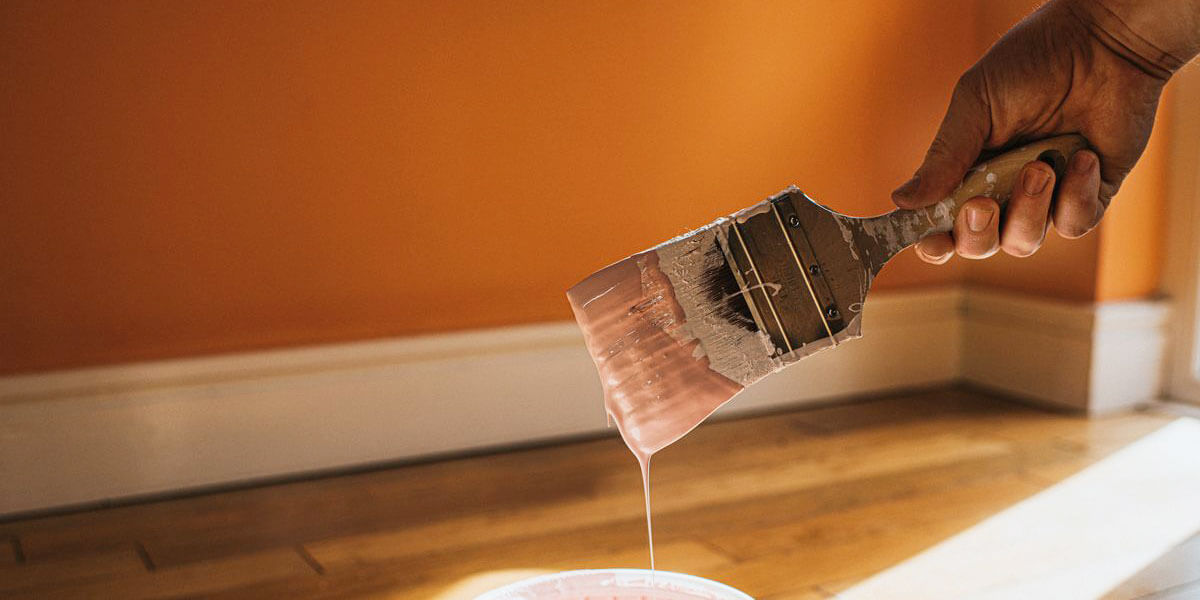
Ensuring a quality paint job requires more than a steady hand and an eye for detail – the tools you use can make or break the finished product. One key aspect often overlooked by both novice and experienced painters alike is how to store a paint brush between coats properly. Carelessly leaving a brush to dry out can not only impact the smoothness of your subsequent paint layers but also degrade the overall lifespan and performance of your brush. That’s why, in this article, I will guide you through the process of properly preserving your paint brushes between coats, ensuring a flawless finish every time.
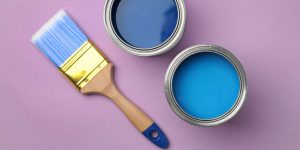
Cleaning the paintbrush

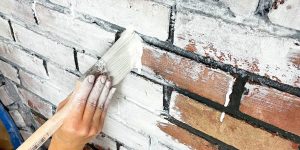
Based on my experience, I can assure you that leaning the paintbrush prior to pausing your work is important to prevent the paint from drying and damaging the bristles. Here’s a step-by-step guide on how to clean your paintbrush:
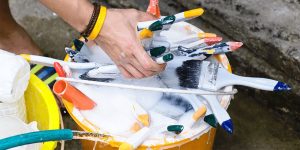
- Remove excess paint: Start by wiping off as much paint as possible from the brush using a rag or paper towel.
- Rinse the brush: Once most of the excess paint has been removed, it’s time to rinse.
- Clean thoroughly: Use your fingers or a brush comb to gently remove any remaining paint from the bristles.
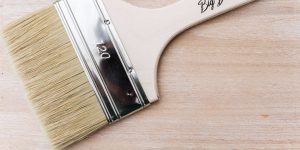
- Reshape the bristles: After the brush is clean, use your fingers to reshape the bristles into their original form.
- Dry and store: Allow the brush to dry horizontally before storing to avoid deforming the bristles.
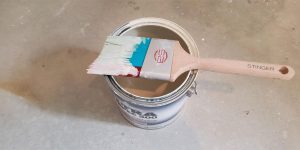
Proper storage during a pause
Selecting the right storage method for your paintbrushes during a pause in your project can have a significant impact on the quality of your work, as well as the lifespan of your brushes. Here’s a comparison of different storage methods:
| Storage method | Description | Ideal for |
|---|---|---|
| In a brush keeper | Brush keepers are designed to hold brushes in a suspended position to keep bristles straight and prevent them from touching the sides. | Longer breaks or when using high-quality brushes that you want to protect. |
| Wrapped in cling film | You can tightly wrap your paintbrush in cling film or a plastic bag to keep air out and prevent the paint from drying. | Short to medium length breaks in painting, particularly when you’ll be using the same color. |
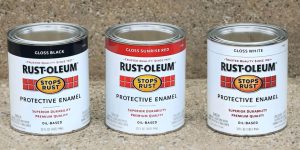
| In a solvent | Storing your brushes in a jar of water or appropriate solvent can keep the paint from drying. However, avoid immersing the ferrule (the metal part) to prevent rusting and avoid warping the handle. | Short breaks. It’s important not to leave the brushes in solvent for too long, as this can damage the bristles. |
| In the fridge | For breaks overnight or over a couple of days, you could wrap your brush in a plastic bag and put it in the refrigerator. The cool temperature slows down the drying process. | Overnight pauses or when you’re taking a break for a couple of days. |
Each method of what to do with paint brushes between coats has its pros and cons, so you’ll need to choose the one that best suits your specific project and environment. Remember, the goal is to keep the paint brush from drying out, preserve the paint’s state, and maintain the brush’s integrity for a seamless return to your painting project.
Resuming painting
Resuming your painting project after a pause involves 4 critical steps to ensure your brush or to keep a paint roller from drying out, maintaining them in optimal condition.
- Unwrap or remove brush: Whether you’ve stored your brush in a keeper, wrapped in plastic, or in a jar of solvent, the first step is to carefully remove it.
- Inspect the brush: Check for any dried paint that might have been missed during cleaning.
- Remove excess moisture: If the brush has been stored in a solvent or water, it’s important to remove the excess moisture.
- Ready to paint: Once you’re sure the brush is clean, dry and its bristles are in good shape, you’re ready to resume painting.
Reviving dried brushes

In case your paintbrush has dried out during a pause or between coats, don’t panic – there are ways to revive it:
- Soak the brush: Start by soaking the bristles in a solvent suitable for the type of paint used. If it was water-based paint, warm soapy water should do the trick.
- Clean the brush: After soaking for a while, use a brush comb or an old toothbrush to gently remove the dried paint from the bristles.
- Condition the brush: Once all the paint is removed, it’s a good idea to condition the bristles to restore their flexibility and keep the paint brush soft.
- Dry and reshape: Dry the brush with a clean rag, reshape the bristles, and allow it to dry completely before using.
Remember, prevention is the best approach – it’s easier to maintain a brush in good condition than to restore one that’s been neglected. However, if you do find yourself with a dried-out brush, these steps can often bring it back to life.