Preparing drywall for painting is an important step that directly impacts the final outcome of your paint job. Whether you’re renovating your home or giving a fresh look to a room, proper drywall preparation ensures a smooth and professional finish. By taking the time to prepare the surface correctly, you can eliminate imperfections, enhance paint adhesion, and achieve a stunning, long-lasting result. In this article, I will share techniques and tips to help you effectively prepare drywall for painting, ensuring a flawless and beautiful result.
Understanding drywall

What is drywall?
Drywall, also known as gypsum board or plasterboard, is a popular building material used to create interior walls and ceilings. It is composed of a core of gypsum, a naturally occurring mineral placed between layers of paper. The combination of gypsum and paper gives drywall its strength and versatility.
Based on my experience, I can claim that drywall offers several advantages over traditional plaster walls. It is cost-effective, easy to install, and provides a smooth surface for painting. Additionally, it is fire-resistant and offers soundproofing properties, making it a preferred choice in residential and commercial construction.
Common types of drywall
There are 4 basic types of drywall available, each designed for specific applications:
| № | Type | Features |
|---|---|---|
| 1 | Standard drywall | Also known as regular drywall or whiteboard, this is the most commonly used type. It is suitable for most interior walls and ceilings in residential construction. |
| 2 | Moisture-resistant drywall | This type of drywall, often called a green board or blue board, is specially formulated to resist moisture and is commonly used in areas prone to high humidity, such as bathrooms and kitchens. |
| 3 | Fire-resistant drywall | As the name suggests, fire-resistant drywall is designed to slow down the spread of fire. It contains glass fibers and other additives that enhance its resistance to flames. |
| 4 | Soundproof drywall | It contains sound-dampening materials, such as gypsum and viscoelastic polymers, which absorb and block sound vibrations. If you want to reduce noise transmission between rooms, soundproof drywall is a great option. |
Understanding drywall textures
Here are 4 common drywall textures you may encounter:
| № | Drywall texture | Description |
|---|---|---|
| 1 | Smooth finish | A smooth finish is achieved by applying a skim coat of joint compound over the drywall. It provides a clean and sleek look, ideal for modern and minimalist interiors. |
| 2 | Orange peel | This texture resembles the skin of an orange. It is achieved by spraying thinned joint compound onto the drywall surface and then lightly knocking it down with a trowel or roller. |
| 3 | Knockdown | Knockdown texture is created by spraying joint compound onto the drywall and then using a trowel to flatten or “knock down” the raised peaks. It results in a textured pattern with a slightly mottled appearance. |
| 4 | Popcorn | Popcorn texture, also known as acoustic or cottage cheese texture, is a bumpy and heavily textured finish. It was commonly used in the past for its sound-absorbing properties, but its popularity has declined in recent years. |
Understanding the different types of drywall and textures is important when prepping for painting. The type of drywall and its texture will determine the specific drywall prep for painting techniques required to achieve a smooth and flawless paint finish.
Tools and materials needed
Before you begin prepping drywall for painting, it’s important to gather the necessary tools and materials. Having the right equipment on hand will make the process more efficient.
Tools:
- Putty knife. Used for removing old paint or caulk and applying spackling paste or patching compound.
- Sanding block or sandpaper. Used to smooth rough areas and remove imperfections on the drywall surface.
- Taping knife. Used for applying and smoothing drywall joint compound during the taping process.
- Mud pan. Used for holding and mixing drywall joint compound.
- Vacuum cleaner. Used to remove dust and debris from the drywall surface before painting.
- Dust mask. Provides protection against airborne dust and particles during sanding and other dusty tasks.
- Tack cloth. Used to remove fine dust particles from the surface before painting.
- Drywall sanding sponge. Ideal for smoothing and feathering joint compound during the final stages of prep.
- Corner trowel. Used for applying and smoothing joint compound in corners and edges.
Materials:
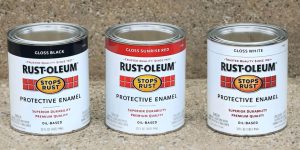
- Primer. Essential for promoting paint adhesion and ensuring an even finish.
- Drywall joint compound. Used for filling gaps, covering seams, and creating a smooth surface.
- Drywall tape. Reinforces joints and seams between sheets of drywall.
- Drop cloths. Protects floors and furniture from paint splatters and debris.
- Painter’s tape. Used for masking off areas that should not be painted, such as trim or windows.
- Plastic sheet or tarp. Provides temporary protection for larger areas or furniture during the painting process.
- Spackling paste or patching compound. Used for repairing small holes, cracks, or imperfections in the drywall.
Steps to prep drywall for paint

Inspection and initial cleaning
The first step in prepping drywall for paint is to thoroughly inspect the surface for any visible defects or damage. Check for cracks, holes, or uneven areas that need repair. Additionally, ensure that the drywall is clean and free of dust and debris. Use a vacuum cleaner or a soft brush to remove any loose particles.
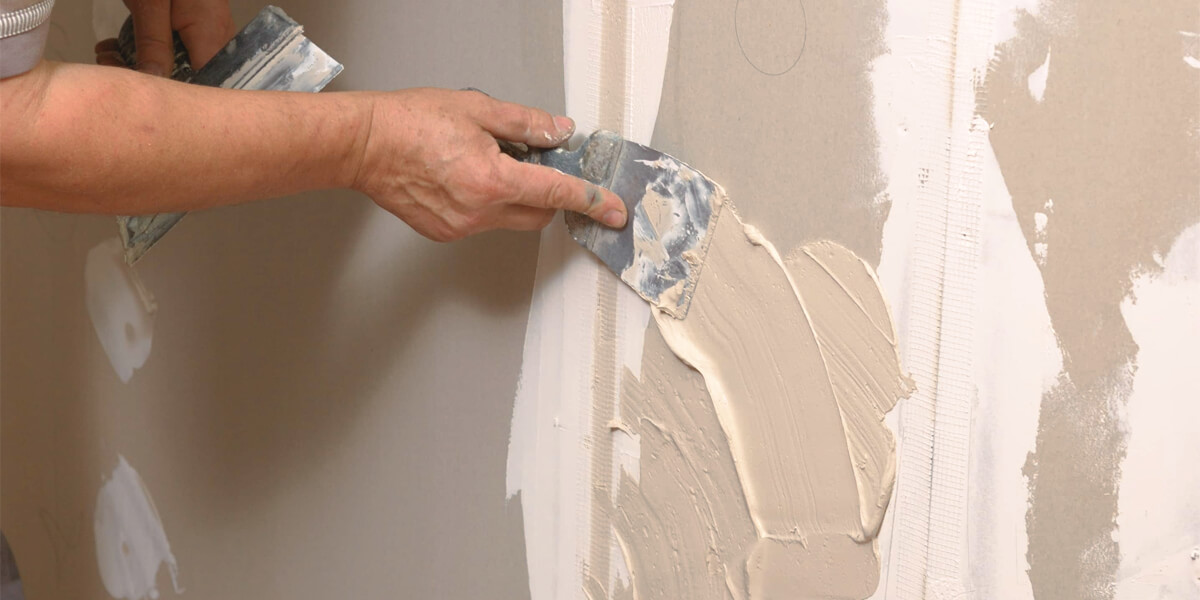
Repairing damages
Next, address any damages found during the inspection. Fill in cracks, holes, or gaps with spackling paste or patching compound using a putty knife. Smooth out the surface and let the compound dry according to the manufacturer’s instructions. Once dry, lightly sand the repaired areas to create a seamless transition between the patch and the surrounding drywall.
Sanding the surface
To achieve a smooth and even surface, sand the entire drywall using a sanding block or sandpaper. Start with a coarser grit to remove any high spots or rough areas. Then, switch to a finer grit to create a smooth finish. Sand in a circular or back-and-forth motion, being careful not to apply too much pressure. Wipe away the dust with a clean cloth or vacuum cleaner.
Cleaning post-sanding
After sanding, it is important to remove the dust residue from the surface. Use a tack cloth or a damp cloth to wipe down the entire area, ensuring that no dust particles remain. Pay special attention to corners and edges, as these areas tend to accumulate more dust.
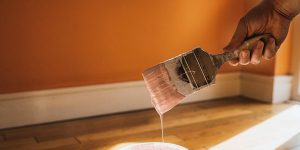
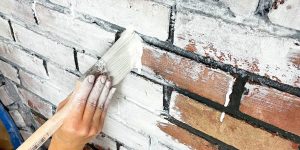
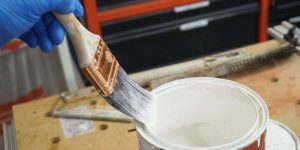
Applying primer
Before painting, apply a coat of primer to the prepared drywall surface. Primer helps to seal the surface, improve paint adhesion, and create a uniform base for the paint color. Use a paintbrush or roller to apply the primer evenly, following the manufacturer’s instructions. Allow the primer to dry completely before proceeding with the painting process.
FAQ
How long should I let the primer dry before painting?
It is recommended to let the primer dry for at least 24 hours before applying paint. Follow the manufacturer’s instructions on the primer can for specific drying times.
Do I always need to sand drywall before painting?
While sanding is not always mandatory, it is generally recommended to sand drywall before painting. Sanding helps to smooth out imperfections, such as joint compound, texture, or rough areas, resulting in a more professional-looking finish.
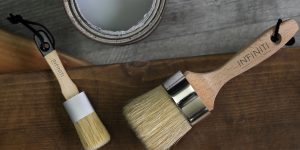
Can I use a regular paintbrush to apply primer?
Yes, you can use a regular paintbrush to apply primer. A paintbrush is suitable for applying primer to smaller areas or tight corners where a roller may not reach easily.